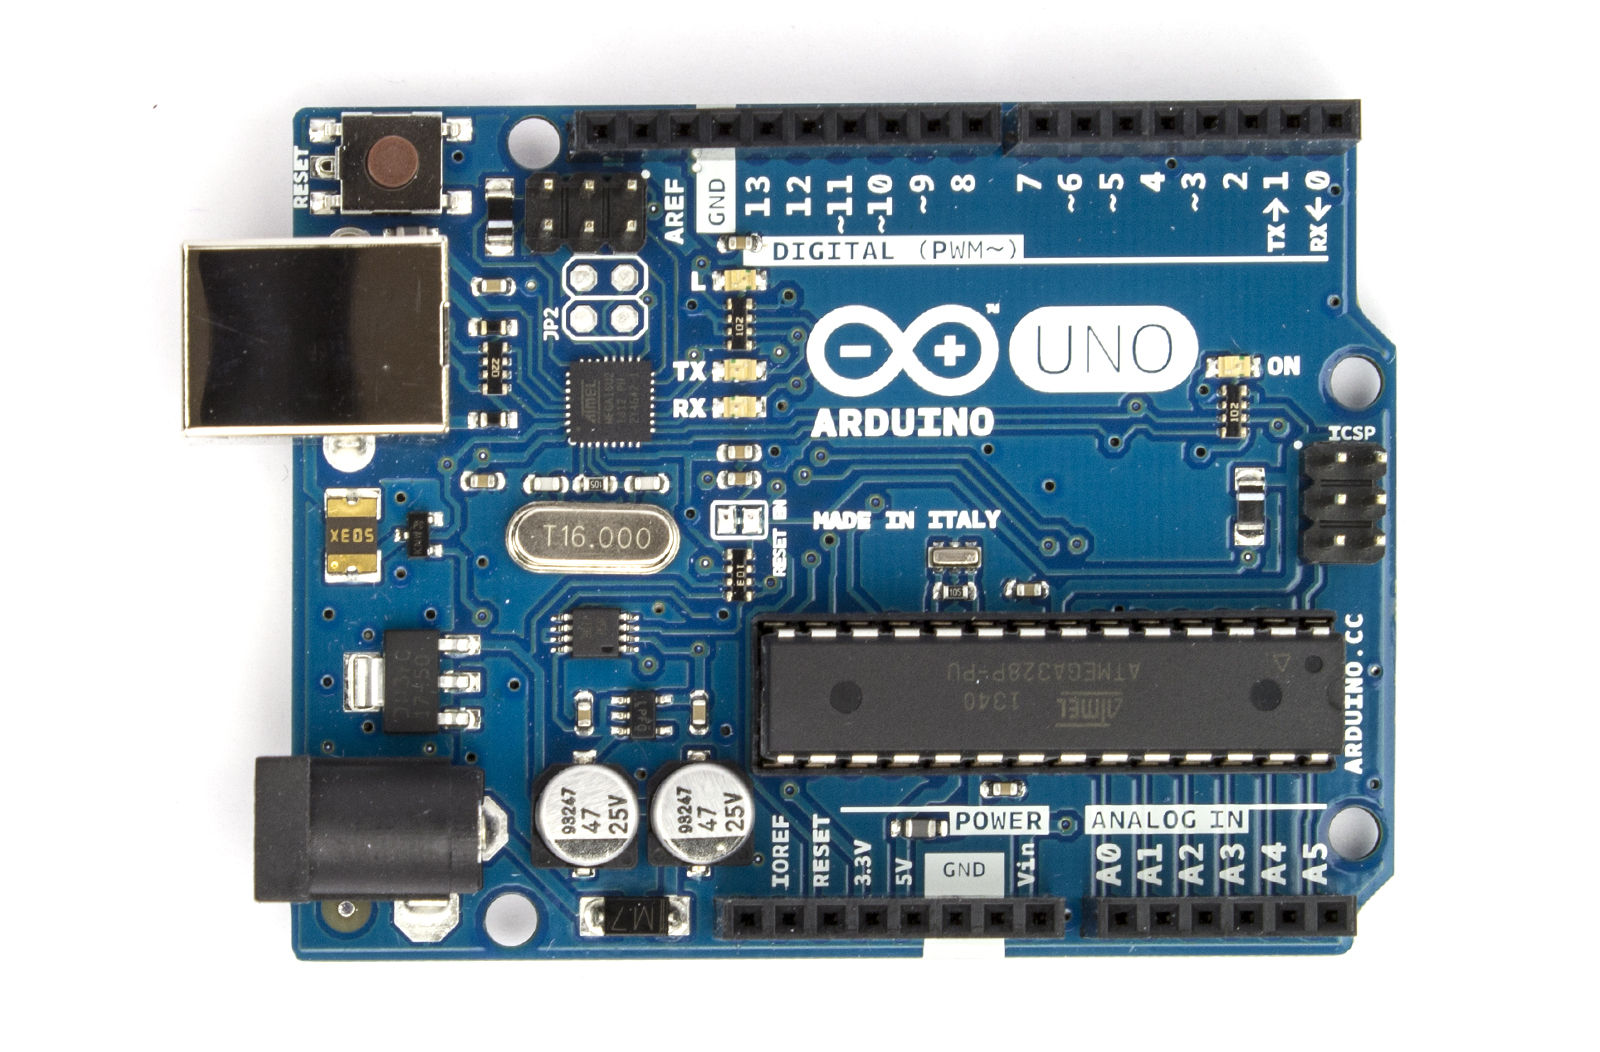
No, you can't plug this into a monitor, keyboard/mouse, and hard drive and use it as a computer. But it is a very powerful, programmable computer board that can be used to control and automate the types of projects that, until this time, would have been impossible without buying royalty licenses and hundreds of units at a time.
These single board microcontrollers are open source, although many people opt to buy the completed boards.
While looking at one, they may seem either ominous, or like a great, big opportunity, there are very many instructions on how to create things, from the beginner level (knowing very little about this type of thing) to the highly advanced. For those who aren't quite getting real world ideas of what they are being used for, we will help you with that.
The Arduino started off as a solitary board, and wikipedia provides a good description of why Arduino came to be and what it is good for. From its early days, it has now expanded to include as many as 20 different boards, depending on your need.
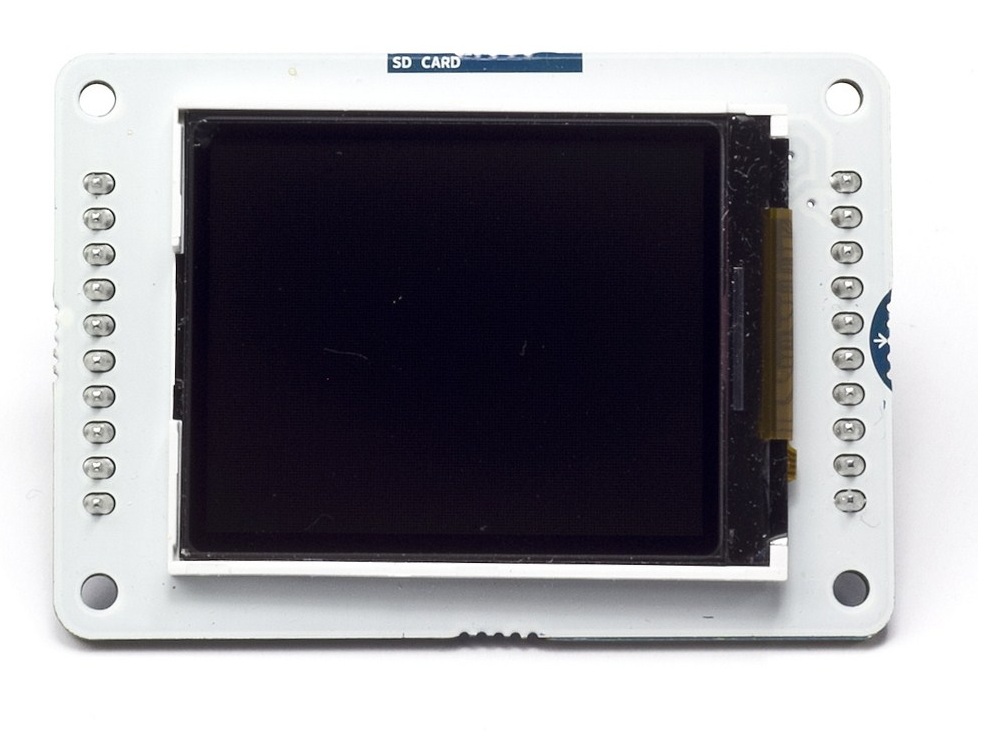
An Arduino board is useful by itself, but depending on your project, you might need a daughter board for things like network/wifi or motor control. Of course, with some of the 20 different boards, these capabilities might already be integrated into it. There's also accessories, like a TFT LCD screen.
There are two, really big concerns that beginners might have when their imagination slows down and reality begins to kick in. The first being, they realize they suck at soldering. The second is that they suck, or worse, at programming. The good news is, you may not have to solder and you may not have to program, depending on the project
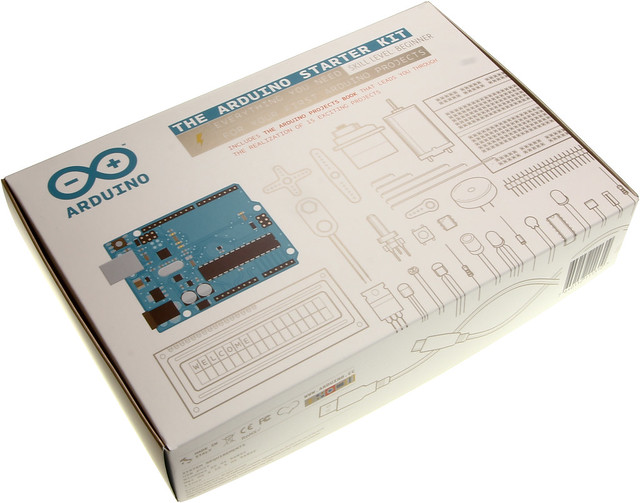
The starter kit is probably the best bet for the beginner. Big plus, it comes with a project book of 15 different things you can do, just with the included parts. The parts are too numerous to list here, but they include things like an arduino board, cables, resistors, transistors, LEDs, photoresistors, potentiometres, etc. And they are, of course, all reusable to make all the included projects, because of the included bread board.
For most people, the kit should not cost much more than $100. And once you are done playing around with the included projects and other tests, it could be used for a permanent project.
This Open Source technology really does have a lot of uses and we will be posting a project every other week, as inspiration for those who want to see

We will start off with two, simple projects in this article, the first is (click the following link to get the instructiuons) an 8x8x8 LED cube.
From the instructable: "We believe this Instructable is the most comprehensive step-by-step guide to build an 8x8x8 LED Cube ever published on the intertubes. It will teach you everything from theory of operation, how to build the cube, to the inner workings of the software. We will take you through the software step by step, both the low level drivers/routines and how to create awesome animations. The software aspect of LED cubes is often overlooked, but a LED cube is only as awesome as the software it runs."
It further goes on to explain:
"You should have an understanding of:
- Basic electronics. (We would recommend against building this as your very first electronics project. But please read the Instructable. You'll still learn a lot!)
- How to solder.
- How to use a multimeter etc.
- Writing code in C (optional. We provide a fully functional program, ready to go)
The end result may end up looking something like this:
The other project we will present here is (click the following link to get to the instructions) a Singing Plant. Yes, a plant that makes noises when you interact with it!
As described at the instructable: "Making a plant sing has been a trick since the Theremin was invented. Here I am going to teach you how to do this with and

This isn't necessarily a hard project to do, although there is a lot to it and could take someone a good amount of time to complete... successfully...
It actually includes as part of the instructions, instructions on how to create a secondary "shield" board for use in this project.
"Components needed:
- Arduino
- Homemade touche shield (Instructable can be found here)
- Gameduino (We are going to use it for sound).
- Two buttons.
- A couple of Alligator clips.
- Two banana connectors.
- Enclosure (I used a wooden box from http://www.containerstore.com/welcome.htm)
- Prototyping shield
- Pin headers
- Resister: 10k, 1MOmh, 3,3k
- Capacitor: 100pf, 10nf
- Diode: 1N4148 diode
- Coil / inductor: 10mH (cypax.dk part no: 07.055.0510)
- Basic soldering tools.
- Wood working tools.
Your finished project may... or may not... look and function something like this:
So there you have it, two Arduino projects that, even if you don't create them, would likely be worth browsing through, to start the imagination flowing.
Of course, many of the instructions on projects include a place where questions can be asked of the instruction maker. Also, for more indepth help, Arduino has a very useful forum.
So hopefully, after reading this article, you are well on your way to becoming an Arduino master. Have fun.
No comments:
Post a Comment